Settings
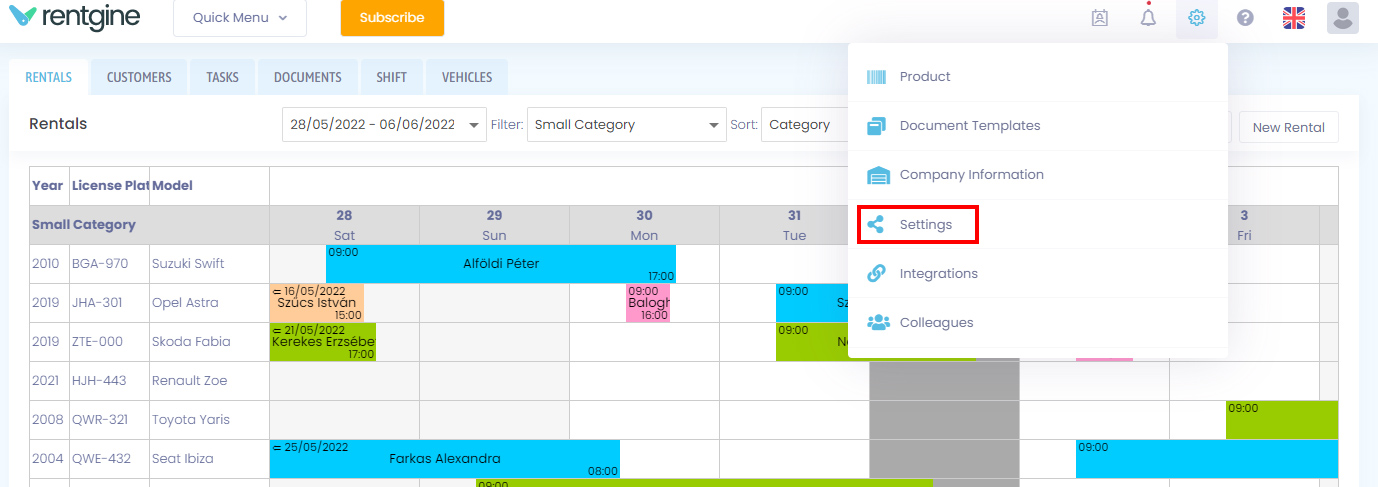
The system settings can be accessed from the Settings menu by clicking on the settings ![]() icon at the top of the page.
icon at the top of the page.
The data on these subpages are displayed in lists.
The data entered must be provided in all the languages added to the system.
Use the bin ![]() icon on the left to delete. If the item is already in use, it cannot be deleted, and the system will warn you about this.
icon on the left to delete. If the item is already in use, it cannot be deleted, and the system will warn you about this.
Default settings
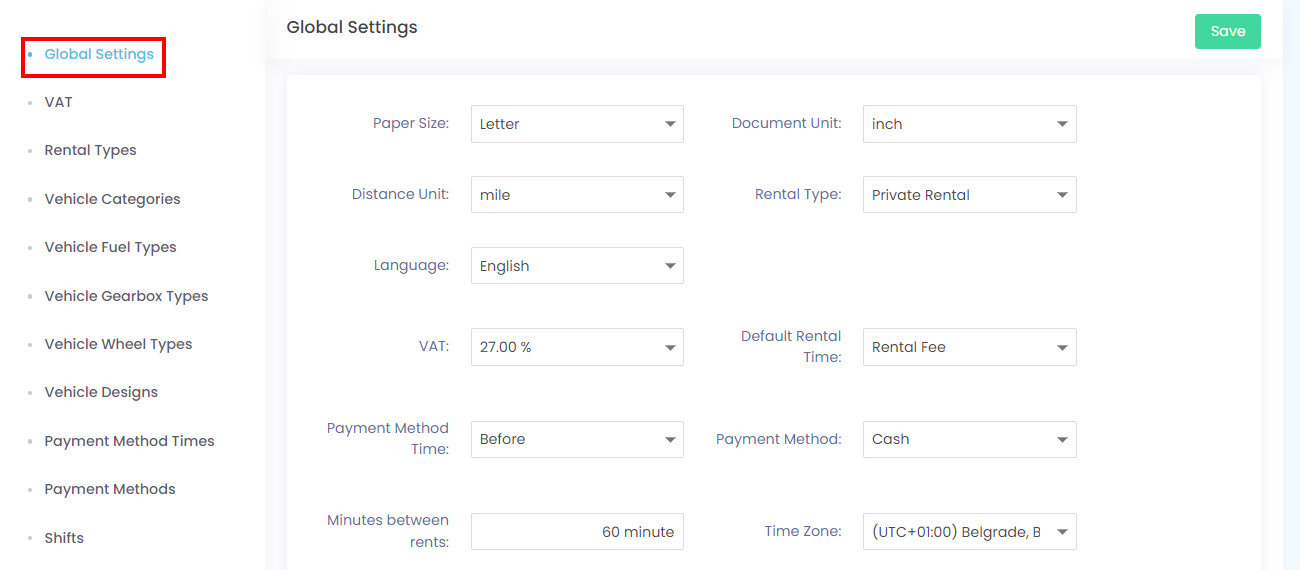
- Paper size: the paper size of the documents created in the system, e.g. A4
- Document unit: in the document editor, e.g.: margins, cm or inch
- Distance unit: by default, km or miles can be selected for rentals.
- Rental type: you can choose from the rental types already added
- Language: you can select the language for the master data. Only languages already added can be selected.
- Currency: you can choose the currency you want to use.
- VAT: VAT content for prices.
- Default rental product: the rental product already added should be set here.
- Payment method time: e.g.: in advance or afterwards.
- Payment method: you can choose from the payment methods available.
- Minutes between rents: the time between two rentals.
- Time zone: UTC (Greenwich Mean Time).
- Day calculation method: determines how the rental fee is calculated.
VAT
The values entered in the VAT table are used in the default settings, in the Financial details tab on the Rental details page and in the Products administration.
Rental types
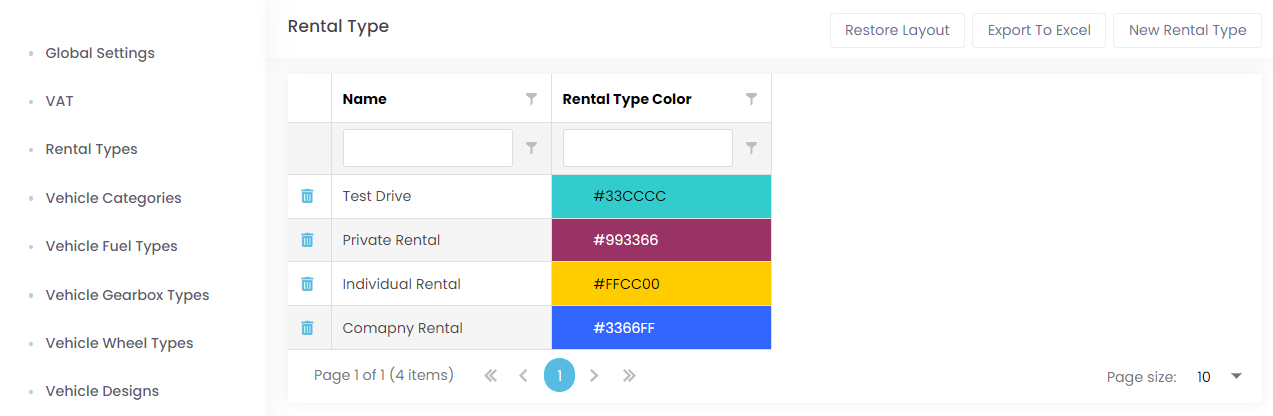
You can use the rental types in the system on the Default settings page, or when creating a new rental or modifying an existing rental. You can also specify the color of the rental type, which determines what color the rental of that type will be displayed in the calendar.
You can choose a color from some of the default colors, or you can enter the HTML color code, or you can choose from a more detailed interface by clicking on the Custom Color button. If no color is selected, a blue color will be the default.
You can also sort and filter by rental type in the List view on the Rentals page.
Vehicle specifications
You can add the main characteristics of the vehicle here. This information is most relevant for the user, but you can also display it on the document using the Insert field button. These settings can be used when creating a new vehicle or editing an existing vehicle.
- Vehicle categories: in the Calendar and List view on the Rentals page, you can filter and sort by vehicle category.
- Vehicle fuel types
- Vehicle gearbox types
- Vehicle wheel types
- Vehicle designs
Shifts
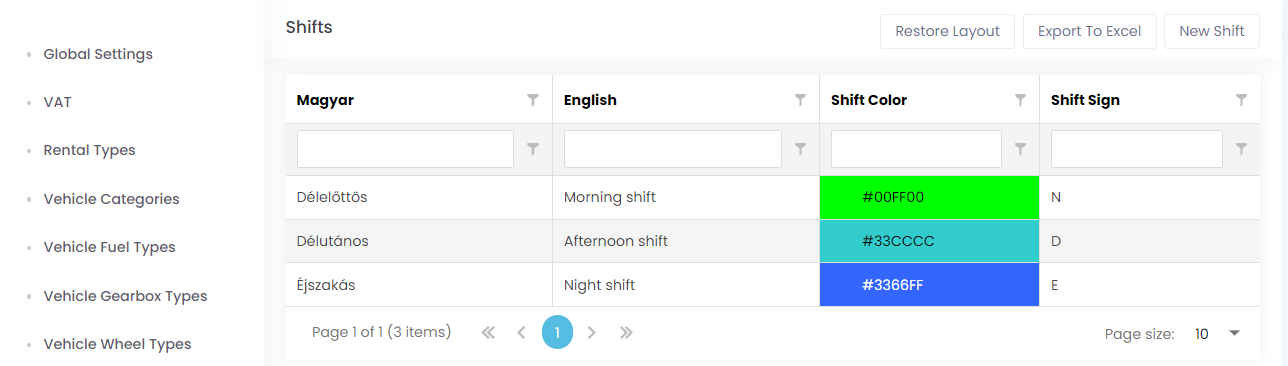
You can set up the shifts you add here for the users in the system on the Shifts page. You can enter the color and the initials of the shift name. With the color and lettering added here, the shift will appear in the shift calendar and the buttons on the top right will also display this letter. The color can be selected from some of the default colors or you can enter the HTML color code. The name can be seen under the Daily Shift menu at the top of the page.
Languages
You can add the languages you see on the page with most of the master data here. If you add several languages to the system where the language is the same but formatting rules differ from country to country, you will see the country for that language after the language name.
Currencies

On the Currencies page you can see a list of the currencies you have added. These can be set as default currencies in the default settings. You cannot change them, only delete them or add a new one. You can only delete a currency that is not the default or not in use.
When pricing your products, we can set a price for all the currencies you have added.
Checklists
This function allows you to create a questionnaire from the inspection questions already added to the system and give it a name. It is possible to assign these questionnaires to vehicles and products, which can be filled in at the time of pick-up and return. You can view the answers to the questions you have filled in on the details page of the rental. It is also possible to delete a set of questions if they are not assigned to any vehicle or product.
Inspection questions
You can use this function to add inspection questions, which you can later assign to a checklist.
We can provide the following information on the question form:
- Question text: based on the languages added to the system, you can enter the text of the question in several languages.
- Order: the value entered in this field determines the order in which the questions are presented in a checklist.
- Text field required?: This field controls whether the text fields are mandatory if the answer type of the question is Yes/No + Text or Text.
- Type of answer: here you can specify the type of answer you expect. You can choose from the following options:
- Yes/No + Text: yes/no options and the option to enter a text response in a text box.
- Text: the answer can be given in a text box
- Choice: You can enter options in the text box at the bottom of the page. One line represents one option.
You can delete a question if it is not assigned to a checklist.
Custom fields
Custom fields can be added for customers, vehicles and rentals. These fields will appear on the interface when you create or modify a particular object and you can assign values to them. In addition, when creating or modifying document templates, you have the option to insert these fields into the template and you will see the values given to these fields when creating a document.
Specify when creating a new custom field:
Name: with this name you can see this field on the interfaceType:
- Text: you can enter any text
- Date: you can choose a date from the calendar
- Drop-down: several options to choose from
- Multiple selector: you can choose more than one option
- Checkbox
Order: this determines the order of the custom fields.
Options: if you select the drop-down or multiple selector for the type, you can specify the options here. One line represents one option.