Document management
The Documents tab at the top of the page provides a list of all the documents that have been created in the system. In addition, on the Rental Details page, under the Documents tab, only the documents related to that rental are available.
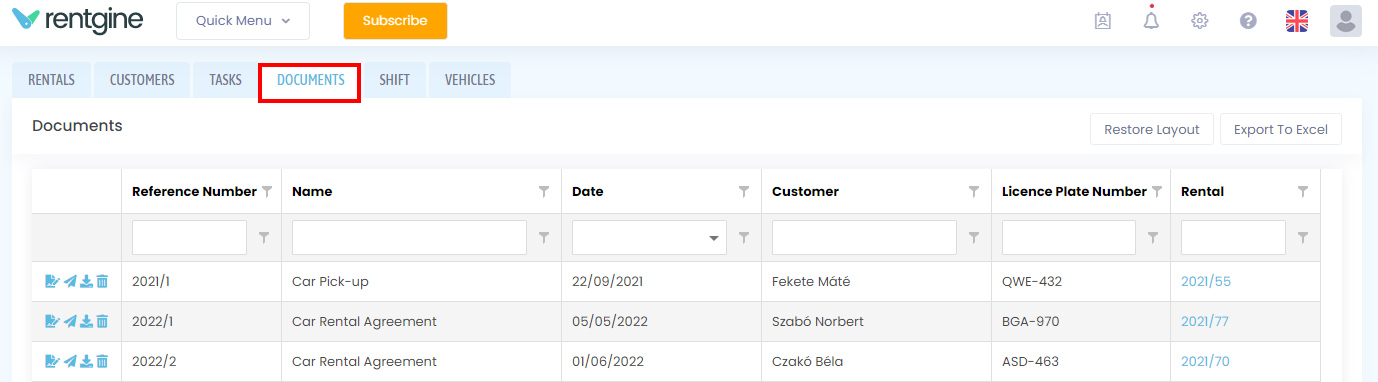
Documents list view
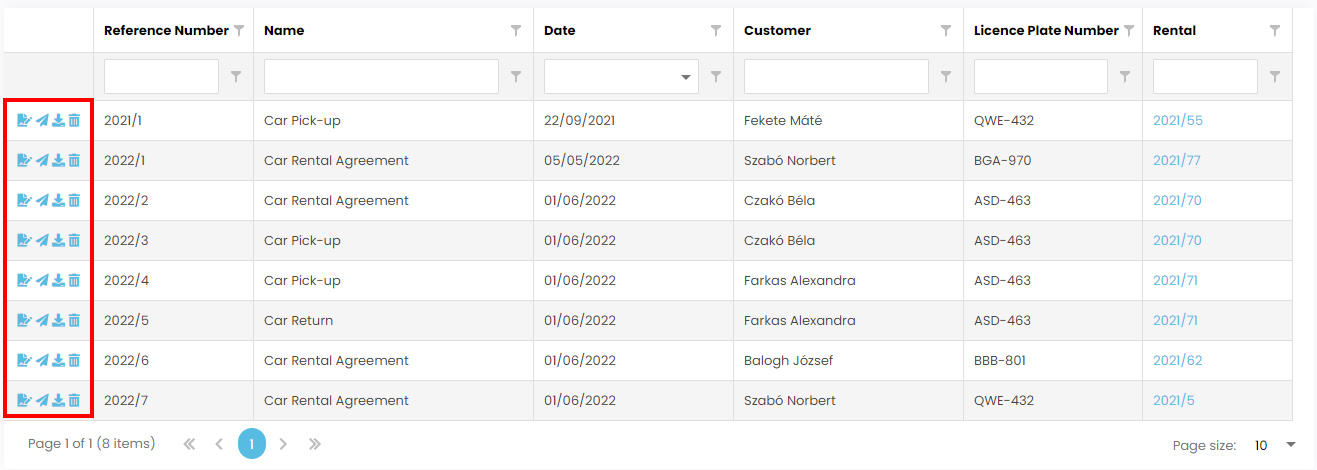
By clicking on the send ![]() icon in the first column of the list, you can send the document to the customer if he or she has a valid email address. With the download
icon in the first column of the list, you can send the document to the customer if he or she has a valid email address. With the download ![]() icon you can download the document in PDF format. Click on the bin
icon you can download the document in PDF format. Click on the bin ![]() icon to delete the document. If the document template has a signature spot and has not yet been signed, you can do this with the sign
icon to delete the document. If the document template has a signature spot and has not yet been signed, you can do this with the sign ![]() icon. If the document has more than one signature spot, a pop-up menu allows you to choose which actor you would like to sign.
icon. If the document has more than one signature spot, a pop-up menu allows you to choose which actor you would like to sign.
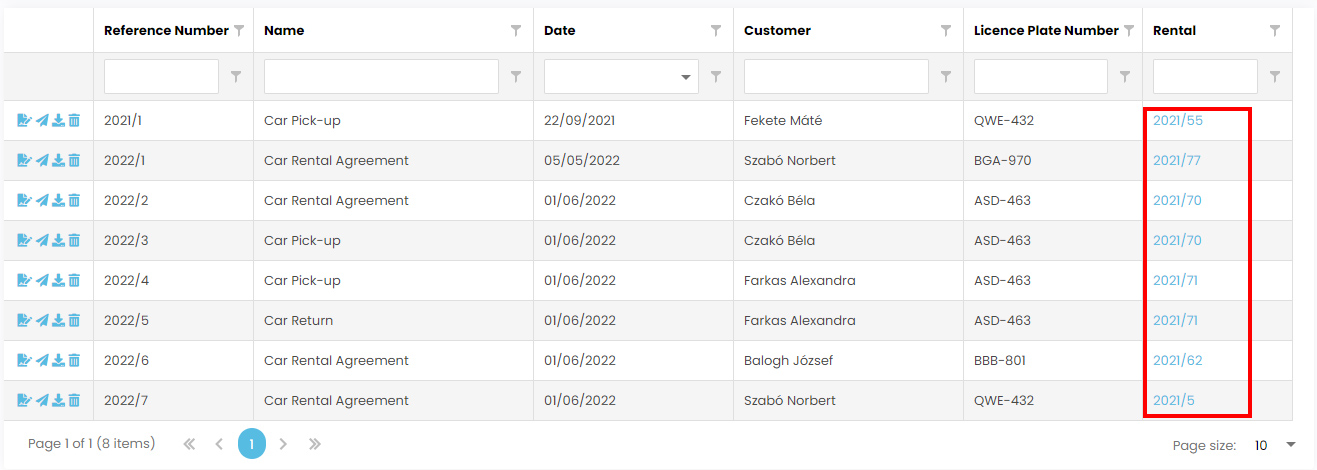
The rental column shows the number of the rental. Clicking on this number will open the rental, clicking on any other position will open the document editor, where you can view and edit the document.
Document template
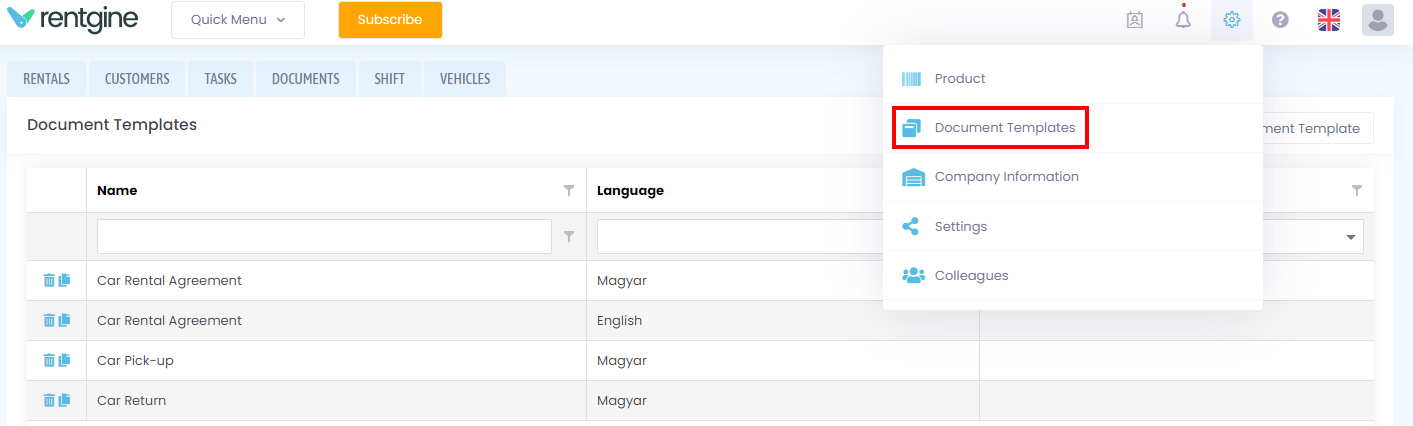
To create a document, you need a template. You can create templates in the settings ![]() menu under Document templates.
menu under Document templates.
New document template
Clicking on the New document template button opens an editor window where you can create a document template.
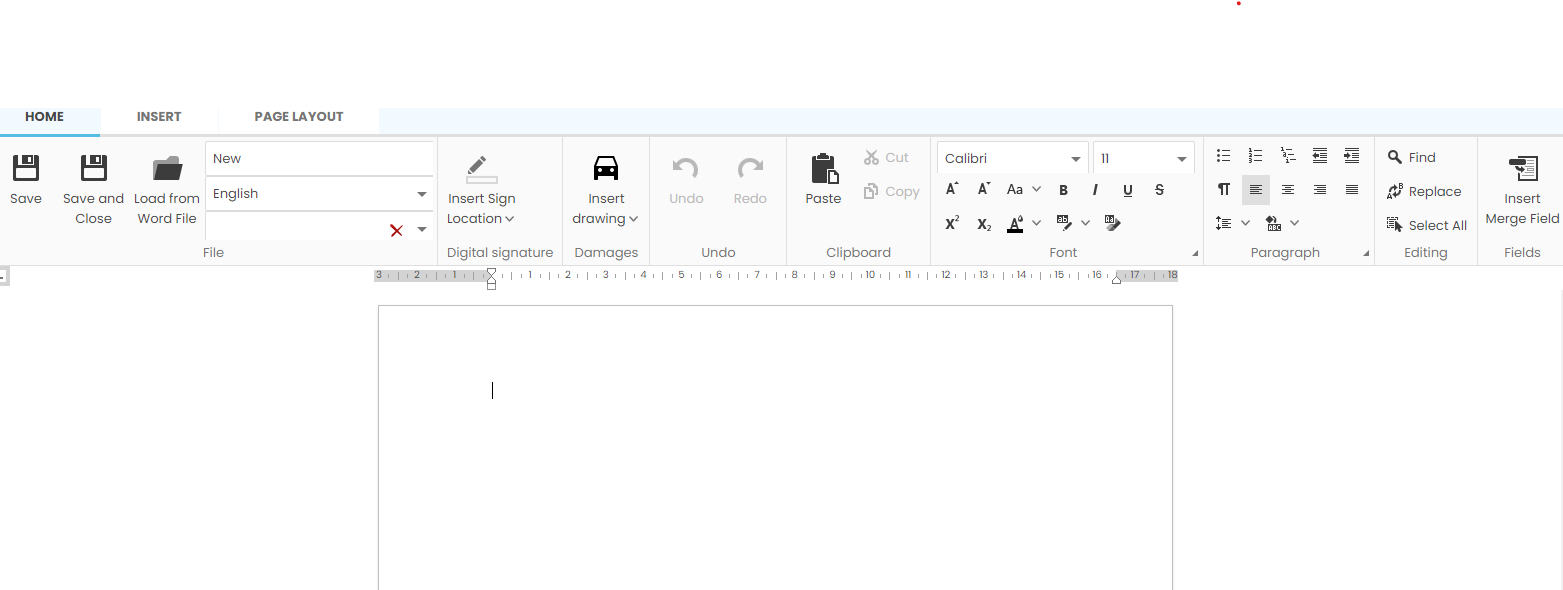
On the top left, you can name the document, set the language and optionally link the document to a specific vehicle. You can also save and load an existing document from a Word file.
Click on the Insert Signature Location button to see a drop-down menu with a list of all the actors related to the rental. If you select one here, a signature location image will be inserted into the document, which you can then align to its position. Once the document has been signed, the signature of the person will be inserted.
By clicking on the Insert Drawing button, you can select from a drop-down menu to insert a drawing of the damage found on pick-up or on return. If you select one, an image of the damage found at the time of pick-up or return will be inserted into the document, which can then be positioned. When the document is created, the corresponding figure of the vehicle will be inserted.
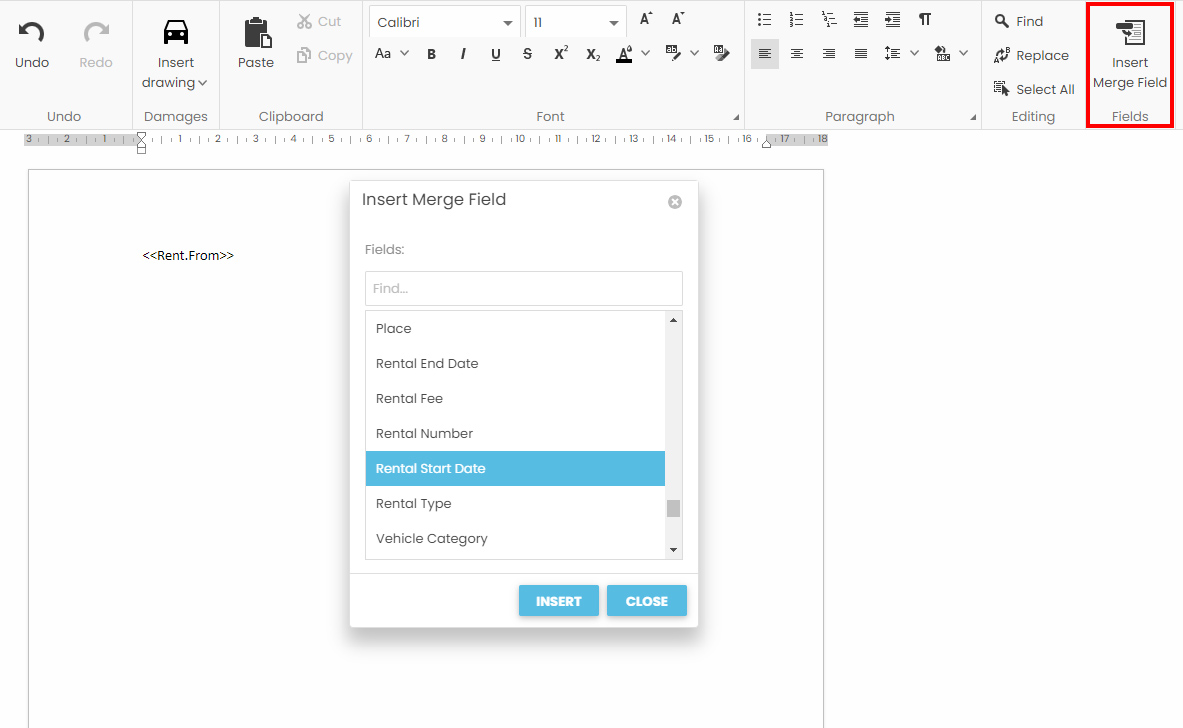
On the right hand side you will find an Insert Field button. Clicking on this button will bring up a dialog box where you can choose from a range of rental, customer, vehicle and company details. If you have entered a custom field for the customer, vehicle, or rental, you can add those fields as well. Inspection questions and their answers can also be selected. If a question is not included for a rental or if no answer has been given to the question, they will not appear in the document. These fields make it easier for you to create documents. For example, if you insert a field like Beginning of Rent in your template, it will look like <<Rent.From>> in the template. When you create a document with this template, it will replace these fields with the corresponding fields of the rental.
New document
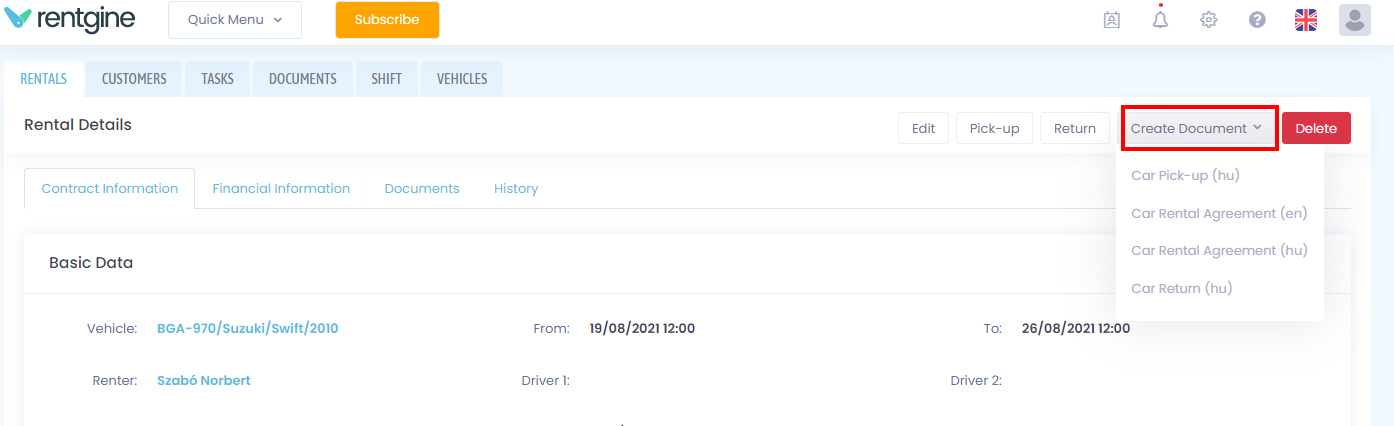
If you already have a document template, clicking the Create Document button at the top right of the Rental Details page will bring up all the document templates that are available for the vehicle selected in the rental. Clicking on any of the templates will bring up an editor where you can view the document based on the template, with the fields filled in with the appropriate data from the rental.
In the editor, you can edit the document created from the document template.
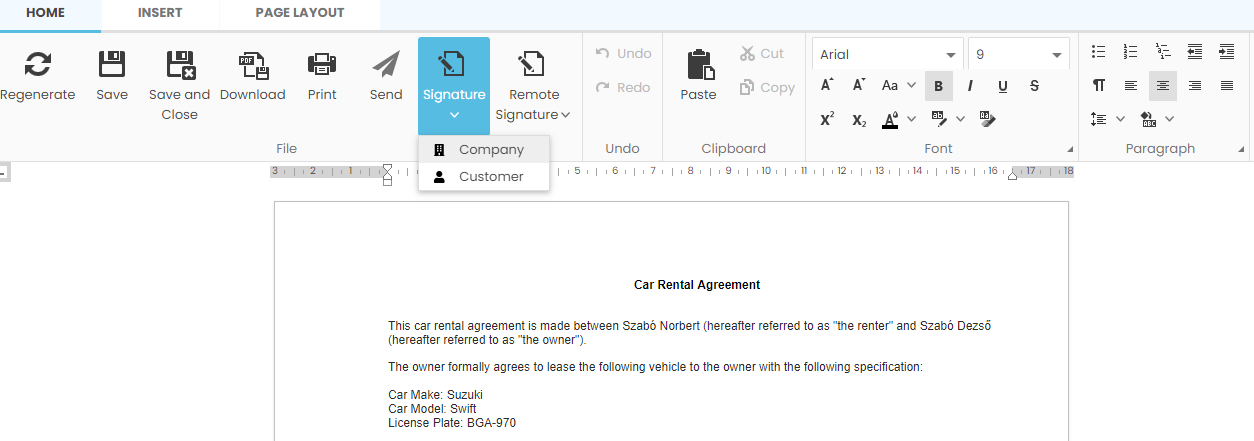
The Regenerate button will re-populate the content of the document based on its template, even if the template has changed in the meantime. Any changes made before the regeneration will be lost. This button is only available if a template is bound to the document.
You have the choice of sending the document to the customer via email if the customer has an email address.
If at least one signature location is defined on the document template, you will find the signature buttons. If you click on the Send for signature button, the system will send an email to the respective person and he or she can sign the document using the link provided.
Click on the relevant actor to open an interface where he or she can sign the document.
If a document already has at least one signature, no further editing is possible.
Signature
Signatures can be initiated from several locations:
- On the Rental Details page, by clicking on the sign
 icon in the first column of the list under the Documents tab.
 - By clicking the sign icon in the first column of the list under the Documents tab at the top of the page.
- By clicking the Signature button in the document's editor window.
Click on the sign ![]() icon in the document list to open the signature interface. In case the document has to be signed by more than one actor, you can select the actor from a context menu, similar to the document editor.
icon in the document list to open the signature interface. In case the document has to be signed by more than one actor, you can select the actor from a context menu, similar to the document editor.

You can send the document for signing by clicking the Send for signature button. This can only be launched from the document editor.
If the document template includes a place for your company's signature and you select the company as the signing party, the user currently logged in to the system will be the one who is able to sign. When sending a document for signature, a list will be displayed from which you can select the person who will sign it among the active users.
The signature page consists of two parts. The upper part contains the document to be signed and the lower part contains the signature panel. Below the signature line you can see the signatory's role and name.
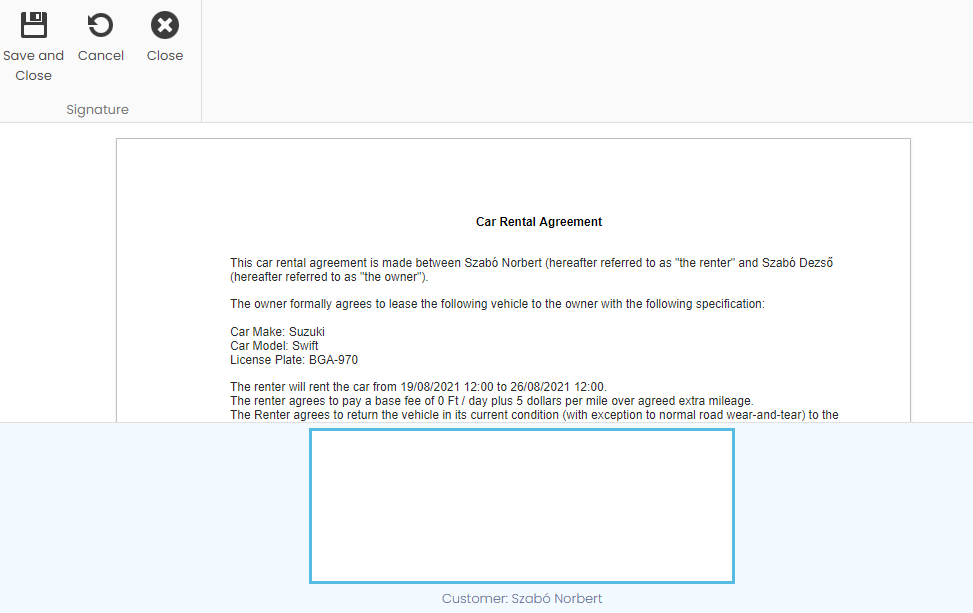
Use the Save button at the top of the page to finalize the signature, the Undo button to clear the signature, and the Close button to cancel the signature process.